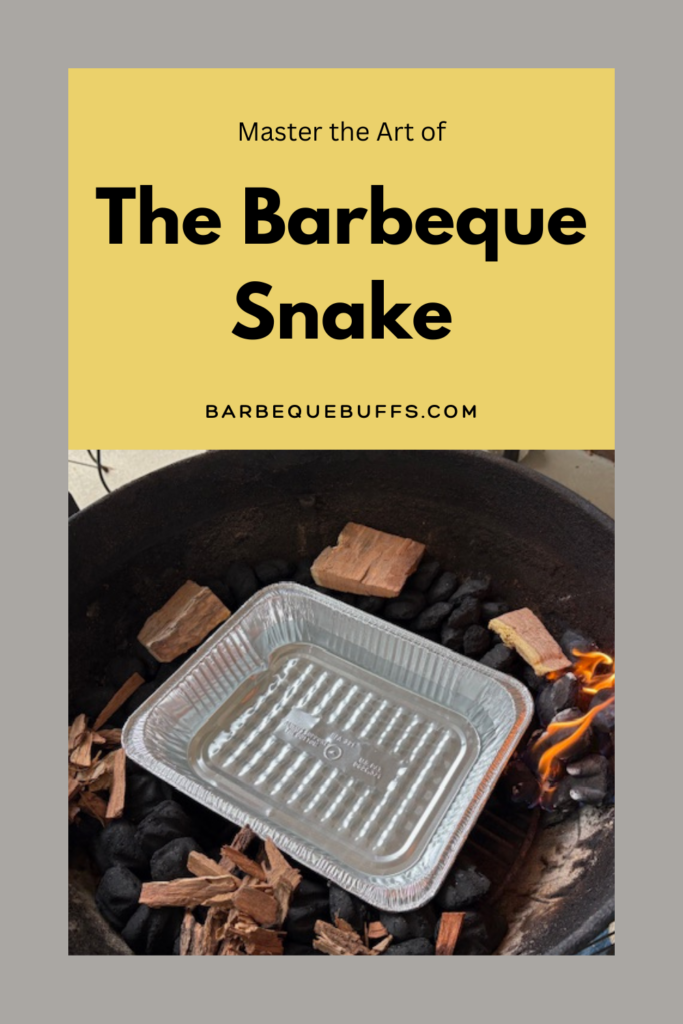
The Charcoal Snake- Barbeque on a Weber Grill
If I have said it once, I have said it a thousand times! There is a DIFFERENCE between barbeque and grilling/cooking out! My friends in NY do not seem to know this! The WHOLE time I lived there- it was a constant battle to set them straight! Well- here’s the thing, I have figured out a way to cook barbeque (think smoked meat- Low & Slow cooking) on a Weber GRILL- the CHARCOAL SNAKE!
If you’re looking to master the art of low-and-slow barbeque on a Weber grill, the charcoal snake method is the way to go. This technique is a simple yet effective way to maintain a steady cooking temperature for hours without constant babysitting. Whether you’re smoking a brisket, pork butt, or ribs, this method gives you that deep, smoky flavor and perfectly tender meat every time. I have seen some things sold- that KIND OF do the trick, but I like the charcoal snake because you don’t have to buy anything special.
Why the Charcoal Snake Method Works
The Secret to Low and Slow Cooking
The key to great barbeque isn’t just the seasoning or the sauce—it’s temperature control. Well, not EXACTLY the case- seasoning and sauce are important. But, the charcoal snake method creates a slow, controlled burn by arranging briquettes in a curved formation, allowing the heat to gradually move from one end to the other. This setup ensures your grill stays at a steady temperature, usually between 225°F and 275°F, the ideal range for smoking meat.
Consistent Heat Without Constant Adjustments
Unlike the traditional pile-it-up-and-light-it approach, the snake method minimizes flare-ups and unnecessary heat spikes. You won’t have to keep adding charcoal or adjusting vents every 30 minutes. This means you can enjoy your backyard, sip on a cold drink from your cooler, and let the grill do the work.
Setting Up the Charcoal Snake on a Weber Grill
Arranging the Coals for an Even Burn
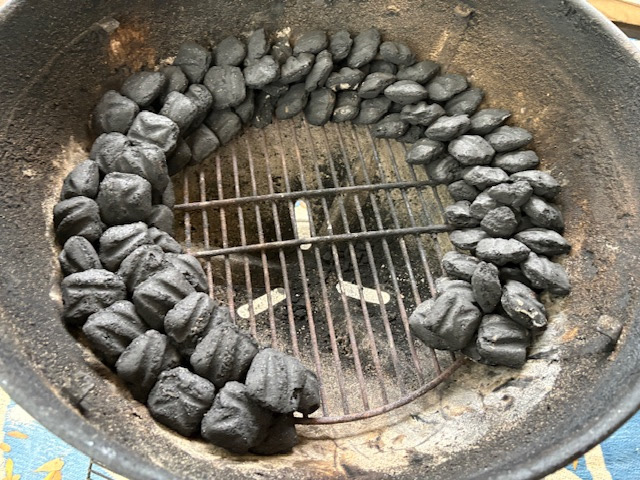
To build the perfect Charcoal Snake, follow these steps:
- Lay out a two-briquette-wide and one-briquette-high row along the outer edge of your Weber’s charcoal grate- like in the picture above.
- Stack another layer of briquettes on top of the first row, forming a two-layer wall of charcoal.
- Leave a small gap at the end of the snake where the coals won’t touch—this ensures the fire moves in one continuous direction instead of igniting everything at once- it’s been my experience that about 58 briquettes per row will do it.
- Use a chimney starter to light 6–8 briquettes separately, then place them at one end of the snake to get things started- I have to admit though, sometimes I cheat and start it with some lighter fluid– or use a couple of these.
Adding Wood Chunks for That Smoky Flavor
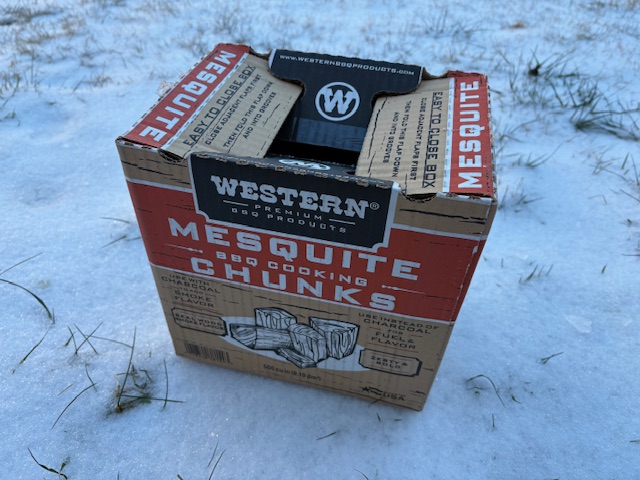
For that authentic BBQ flavor, add hardwood chunks like hickory, apple, or cherry on top of the charcoal snake. I almost always use mesquite wood though- the flavor is a little stronger and I’m not using much so I want to get as much as I can. Space them out along the path of the coals so that as the fire burns along the snake, it periodically ignites new wood chunks, maintaining a steady flow of clean, flavorful smoke. Avoid using wood chips unless you soak them first, as they tend to burn out quickly.
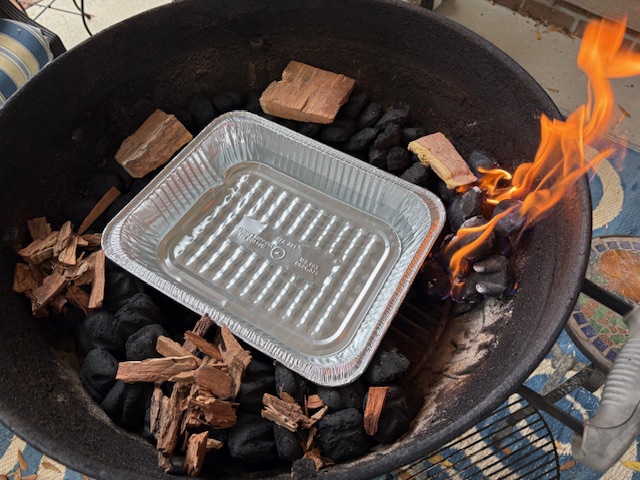
The Pan- Keep the Moisture In!
Next- and this is KEY! Add a 9″ x 12″ or whatever size you have- not that important, into the middle of the snake. Add about 6 cups of water. You want to add enough water so that it doesn’t evaporate away. This is going to keep the meat moist through the cooking process. I always get these at the dollar store, but if you can’t find any- the supermarket will do (they’re a little more expensive there) or try these.
Managing the Cooking Process
Controlling Airflow and Temperature
Your Weber’s vents play a huge role in temperature control. Keep the bottom vents WIDE OPEN and adjust the top vent as needed- but again, my experience is just leave it open all the way. I like plenty of air flow. If your temperature climbs too high, slightly close the vents. If it drops too low, open them up a little more. A reliable way to monitor the temperature is by placing a grill thermometer at grate level instead of relying on the built-in lid thermometer, which tends to be inaccurate.
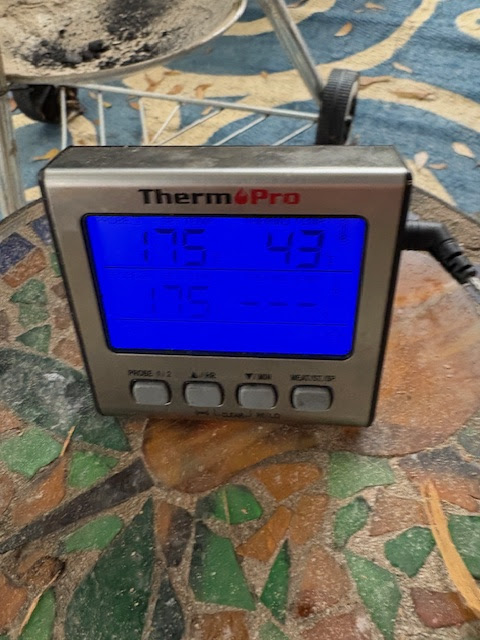
Monitoring the Internal Temperature of the Meat
Cooking by time alone is a rookie mistake—temperature is what truly matters. A digital meat thermometer like the ThermoPro TP20 or the MEATER Plus will help you track the internal temperature of your meat without constantly lifting the lid.
- Brisket: 205°F for that perfect tenderness
- Pork Butt: 195–205°F for juicy pulled pork
- Ribs: 190–200°F for fall-off-the-bone goodness
Always probe the thickest part of the meat, avoiding bones, for an accurate reading. If your thermometer is touching the bone, it might give you an inaccurate reading.
Choosing the Right Cuts of Meat for the Charcoal Snake
Best Meats for Slow Cooking
The Charcoal Snake method is perfect for cuts that benefit from a long, slow cook:
- Brisket – The king of BBQ, full of connective tissue that breaks down over time.
- Pork Shoulder (Boston Butt) – Ideal for pulled pork, loaded with fat that renders beautifully.
- Ribs (Spare or Baby Back) – The slow burn ensures they stay tender without drying out.
How Long to Smoke Different Cuts– but remember, we go by internal temperature
- Brisket: 10–14 hours
- Pork Butt: 8–12 hours- However- lately, I have been getting this done much faster. I changed charcoal- and it seems to burn hotter! Which is a good thing.
- Ribs: 5–6 hours
Pro Tips for the Perfect BBQ Using the Charcoal Snake Method
The Importance of a Quality Cooking Thermometer
Never trust guesswork when it comes to BBQ. A wireless meat thermometer allows you to monitor both the grill temperature and the internal temperature of the meat from a distance, so you don’t have to lift the lid and lose precious heat.
Troubleshooting Common Issues
- Too much smoke? Use fewer wood chunks or switch to a milder wood like apple.
- Temperature spikes? Close the top vent slightly to restrict airflow.
- Fire burns out too soon? Ensure briquettes are packed tightly in the snake- I always LAYER or SCALE the briquettes.
Cooking with the charcoal snake method takes a little patience, but once you master it, you’ll wonder how you ever grilled without it. It’s a foolproof way to get that deep, smoky flavor with minimal effort. Fire up the grill, grab your favorite cut of meat, and let the charcoal do the work. The worst part is setting up the coals- but I am working on a better way to do that!
FAQs
1. How long does the Charcoal Snake method last before needing more coals?
A well-built Charcoal Snake can burn for 6 to 12 hours, depending on the length of the snake, outdoor temperature, and wind conditions. For longer cooks, you may need to extend the snake or add more briquettes as it burns- I have had to do that before when it is very cold outside.
2. What type of charcoal works best for the Charcoal Snake method?
For best results, use high-quality briquettes like Kingsford Original. They burn evenly and provide consistent heat. Lump charcoal can be used but burns hotter and faster, making temperature control trickier.
3. Can I use the Charcoal Snake method in different types of grills?
Yes! While it’s most commonly used on a Weber Kettle, you can adapt it for other round or drum-style charcoal grills. It may not work as effectively in smaller grills with limited airflow control.
4. How much wood should I use when setting up the Charcoal Snake?
A few golf ball-sized wood chunks placed every 4–6 inches along the snake will produce steady smoke. Avoid overloading with wood, as too much can lead to bitter, overpowering flavors.
5. How do I maintain a consistent temperature throughout the cook?
Keep the bottom vent about 1/4 open and adjust the top vent as needed. Use a grill thermometer to monitor temperatures, and try to avoid opening the lid too often, as that lets heat escape.